The Lost Ark Tranquil Karkosa Abyssal Dungeon is the fourth Tier 2 Abyssal Dungeon. You will need to reach item level 960 and have finished Sea of Indolence in order to enter.
You will find three bosses in the Tranquil Karkosa Abyssal Dungeon. Kallivan of the Eroded Storm, Karkosa’s Punisher, and Karkosa Monarch Draikhan are the three bosses you will encounter. Additionally, the non-boss mechanics of this dungeon are straight forward; kill everything. Let’s take a deeper look at these bosses.
Useful Items – HP Potion, Panacea, Whirlwind Grenades, Destruction Bombs
Gate of Paradise Main Mechanics
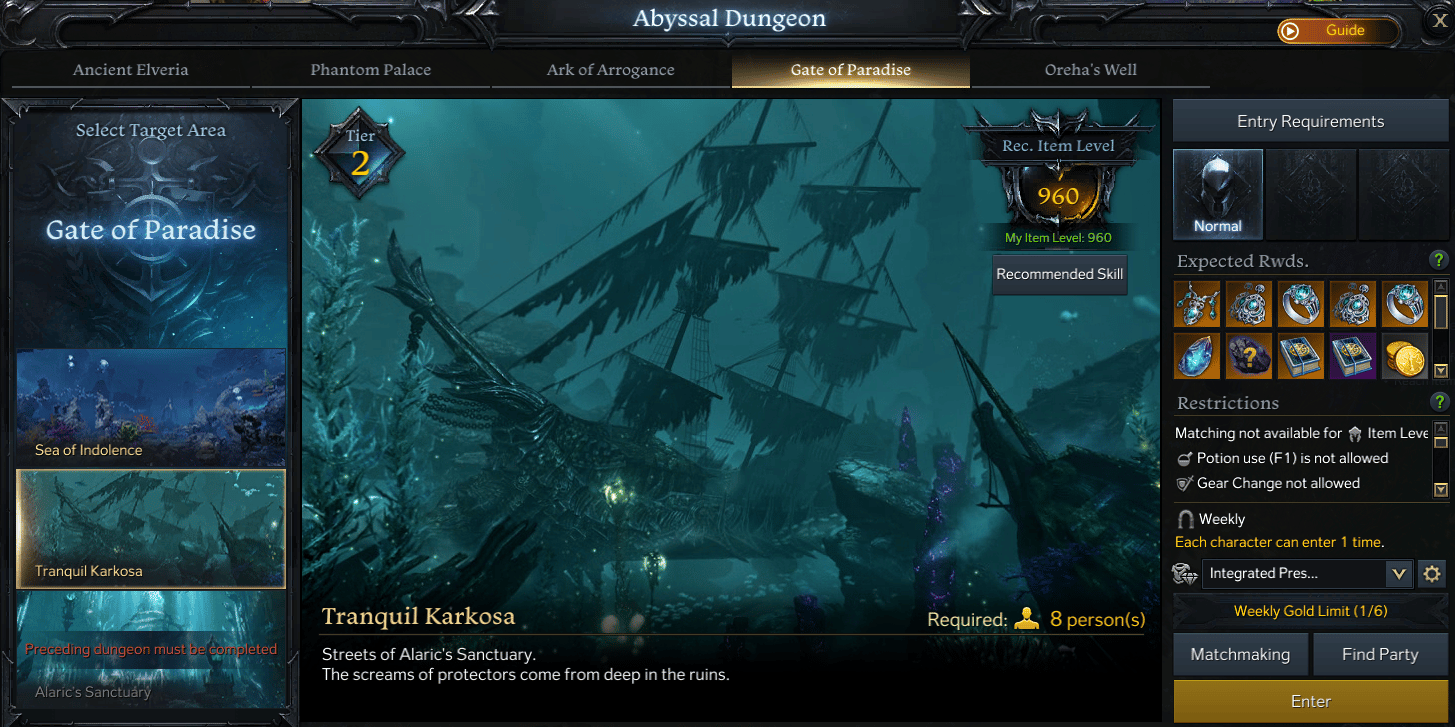
Unlike other Abyssal Dungeons, Gates of Paradise is setup for 8 players and has underwater breathing mechanics. When first starting out, players are provided with an underwater suit and your oxygen levels are not a concern, however after defeating Orboros, all players must watch their oxygen levels to make sure they don’t drown to death. Oxygen levels for every player will appear over their character.
Restoring Oxygen – There are two ways to restore Oxygen while in Gate of Paradise. Plants and Oxygen Fissures. Both appear on your mini-map, so if you are having a hard time noticing them look there. The Plants will quickly restore your oxygen to full while the Oxygen Fissures you have to stand on and wait a few ticks.
Yellow AoE Attacks – It is common for attacks to show a Red AoE on the ground for when attacks are coming. However, while underwater there are some Yellow AoE attacks you may have noticed. What is special about these attacks is that they deal oxygen damage on top of the normal damage. So if you don’t want to go searching out Oxygen as often, make sure to dodge these attacks as much as possible.
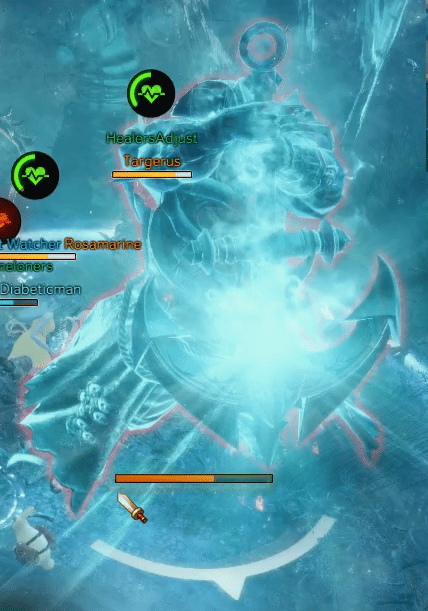
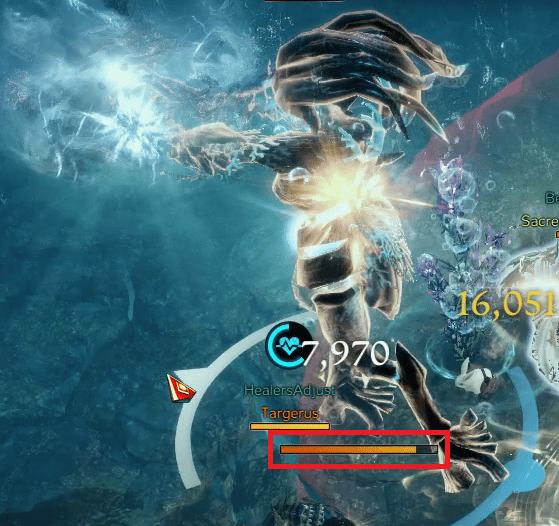
Kallivan of the Eroded Storm Main Mechanics
Kallivan of the Eroded Storm has 20 health bars that players will need to knock off to complete the fight. They have 2 main repeating mechanic that will occur throughout the fight.
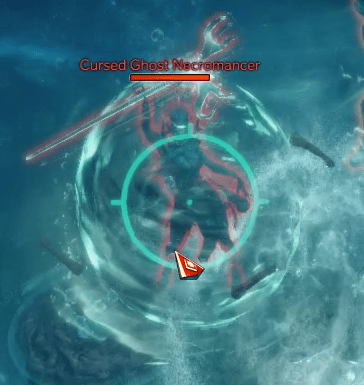
- Summon Necromancers – Kallivan will summon two Cursed Ghost Necromancers that will cast a protective invincibility shield on Kallivan. So long as one of these Necromancers lives, Kallivan will be unable to take any kind of damage. Additionally, these Necromancers will come with a protective shield that will take Destructive Damage. Use Destructive Bombs on them while they have shields up.
- [Stagger] Sunken Pirate Ship – After 20 seconds of casting Summon Necromancers, Kallivan will start to charge up their Stagger Attack. Make sure all Necromancers are dead, or Kallivan will not take any damage. Use Whirlwind Grenades to help break the stagger bar along with High Stagger abilities. Failure to stagger Kallivan will have them bring in a Sunken Pirate Ship onto the entire party and wipe.
Kallivan of the Eroded Storm Notable Attacks
- Water Spurts – Kallivan shoots spurts of water upwards that quickly falls downward to hit players in the area. Anyone hit will be knocked upward.
- Player Guns – Kallivan gives players a gun that will shoot after a few seconds in the direction the player is facing. Will damage anyone in a cone shape in front of the player, so make sure to face your gun away from others.
- [Yellow] Anchor Slam – Kallivan will run and jump into the air and use their anchor to pull themselves back onto the ground. When Kallivan comes back, they will slam their anchor into the ground for a large cone attack.
- Gun or Anchor – Kallivan will generate 3 cones around them to create a full circle for the attack. They will then hold up a Gun or Anchor to indicate what weapon they will attack with. Blue cones will have a gun in them while red cones will have the Anchor. So, if Kallivan is holding up a gun stay out of the blue and if they are holding an Anchor stay out of the red.
- Boomerang Anchor – Kallivan will take a step back and summon 4 stones in front and 4 behind them. They will then throw the Anchor forward into the rocks causing them to burst and deal damage to anyone near them and to the sides of them. The anchor will come back and then explode the rocks behind them.
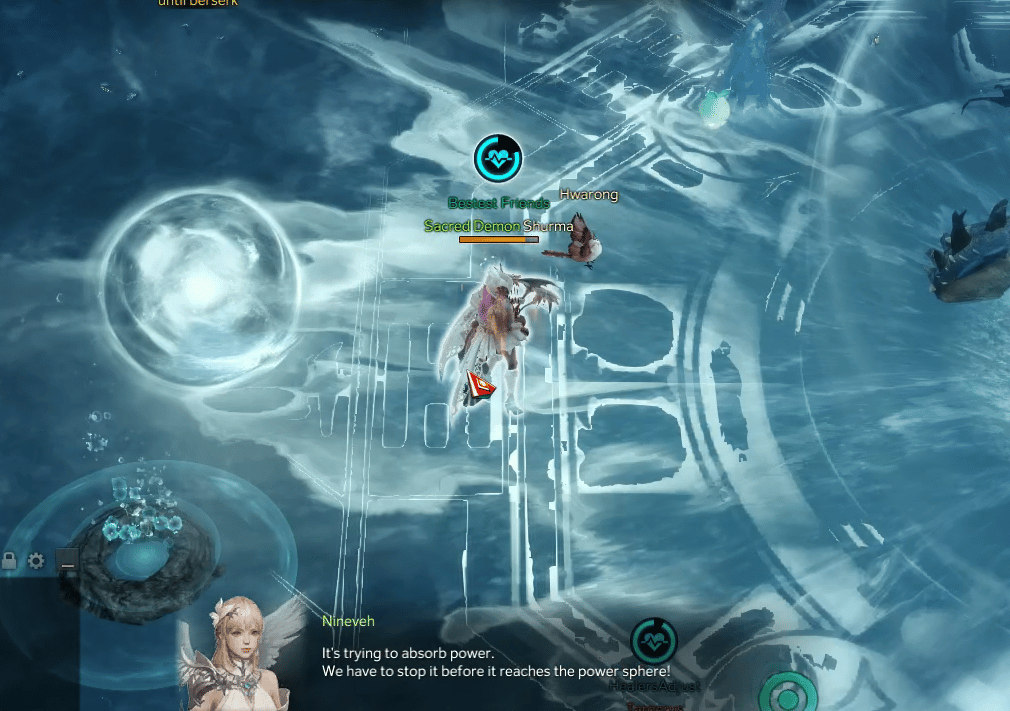
Karkosa’s Punisher Main Mechanics
Karkosa’s Punisher has 20 health bars and is a very simple fight. Most PUGs have no problems getting this boss killed on the first attempt.
- Summon Deep Sea Melanos – Karkosa’s Punisher will summon a large pufferfish that needs to be defeated sooner than later. Melanos will attack random players and overtime will merge with the boss for a large AoE attack that will wipe most groups.
- [Stagger] Dash Grapple – Karkosa’s Punisher will randomly grab a player by dashing towards them and slowly walk across the arena. They will then slam the player into the ground dealing massive damage to the player and slight AoE damage to everyone else. While the grapple is occuring, players have the chance to Stagger the boss to prevent the smash from happening. Make use if your Whirlwind Grenade to help break the grapple.
Karkosa’s Punisher Notable Attacks
- Cone Bursts – Karkosa’s Punisher will summon 4 bright cones that players will need to run out of.
- [Variant] Target Cones – Sometimes the cones will stay on target players, just make sure to not overlap them as stacking them will deal massive damage to the players.
- Explosion & Whales – Karkosa’s Punisher attack starts with 3 large circles that will explode after a few seconds. During the explosion, a whale will jump out of the circle and come crashing down.
- Seaweed – Karkosa’s Punisher raise their hands and they will start to glow blueish white. They will then slam them down into the ground creating 3 lines of seaweed in front of them in a cone shape. Anyone hit is imprisoned and will need to be hit out or wait 10 seconds.
- [Variant] Jumping Seaweed – Karkosa’s Punisher will jump backwards during the attack causing the Seaweed lines to be larger than normal. However, this version of the attack will not imprison players.
Karkosa Monarch Draikhan Main Mechanics
Karkosa’s Punisher has 20 health bars and can be a challenging fight. Players will need to determine spots around a circle to intercept orbs before the fight starts (Cardinal & ordinal directions). It’s common practice for players to stand in the respective spots at the battle exchange location.
- Electric and Water Orbs – Draikhan will run towards the middle of the arena and start to summon in Orbs from Cardinal and Ordinal directions. If the boss absorbs 3 or more orbs, then it will wipe the party at the end of the attack. Players will need to intercept the orbs to prevent this from happening. Players are unable to absorb two of the same color orbs in a row or they will get knocked into the air and unable to get the next orb.
- Rotation 1 – [16th HP Bar] Each player will start in their clock position and move clockwise each orb until they’ve absorb 5 different orbs.
- Rotation 2 – [8th HP Bar] Each player will start in their clock position and move each orb, however with the exception of the 3rd orb. Players should stay stationary when the 3rd orb spawns and then continue moving in the clockwise motion after absorbing the 3rd.
- Waterlogging – Players hit by water attacks of Draikhan will generate a Waterlogging Debuff that lasts 40 seconds. The debuff will lower attack power and movement speed by 8% per stack.
- Electric Shock – Players hit by electric attacks of Draikhan will generate an Electric Shock debuff that lasts 40 seconds. The debuff will increase the amount of damage the target takes and lowers the movement speed by 6% per stack.
Karkosa Monarch Draikhan Notable Attacks
- Bursting Orbs – Draikhan will summon 2 orbs on the far side of the arena that slowly travels towards the middle. The orbs will shoot out high pressure water every few seconds that will knock players upward if hit.
- Double Lightning Jump – Draikhan will roar and let out water waves to start the attack. They will then become electrically charged and jump directly upwards and slam into the ground. Upon hitting the ground, a small electric burst will also come outwards. Anyone close to the boss will get hit with lightning. Draikhan will then jump a second time performing the same electric jump and slam.
- Double Ended Breath – Draikhan will ‘suck up air’ in preparation for the attack. Then both the front and back head will start to the breath attack on their right side of the head. The attack will slowly rotate so that anywhere near will get you hit. Will just need to rotate with the attack or run out to avoid.
- Triple Water Waves – Draikhan will stomp their left feet and then their right feet in preparation for the attack. Shortly after they will lift up their heads and burst out 3 water waves for anyone close to them. Anyone hit will be knocked back.
Tranquil Karkosa Rewards
Some rewards are guaranteed (Guardian’s Will) while others are a chance to obtain (Cards). There are also some limitations on some of the items if your item level at or above 1370. Here are the Tranquil Karkosa rewards;
- Epic and Legendary Cards
- Legendary Tier 2 Earrings, Necklace, and Amulets
- Tier 2 Ability Stones
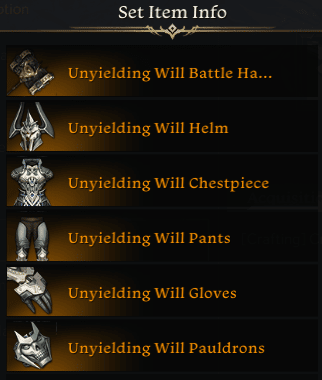
- 7x Guardian’s Will (Crafting material for the Unyielding Will & Mute Guardian set)
- *Rare or Epic (Battle/Class) Engraving Recipe
- *Gold
- *Scar of the Abyss Chest (Purchase with 40 gold after the MVP screen)
*Items can only be obtained if you are below an item level of 1370.