
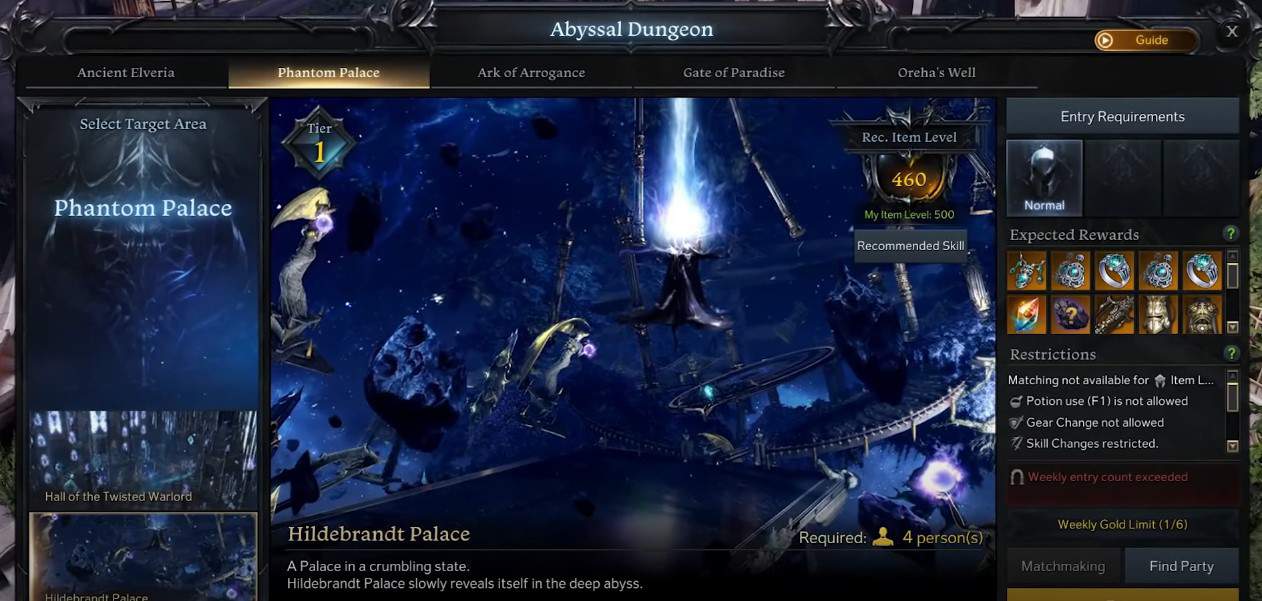
The Lost Ark Hildebrandt Palace Abyssal Dungeon is the last Tier 1 Abyssal Dungeon. You will need to reach item level 460 in order to enter this dungeon. The rewards for completing this dungeon include Tier 1 Accessories, Engraving Books, Ability Stones, Cards, and materials to craft unique gear sets.
Similar to the third Abyssal Dungeon, Hall of the Twisted Warlord, this dungeon requires team cooperation in order to complete it. This dungeon will utilize all of the skillsets that players learned from the previous Abyssal Dungeons. If your team does not have good coordination, teamwork and positioning the dungeon will be difficult to complete.
You will encounter two main bosses in this the Lost Ark Hildebrandt Palace Dungeon. Your team will have to defeat them in order to complete the dungeon. Phantom Legion Queen and Brelshazaare are the two bosses you will encounter.
Phantom Legion Queen (First Boss Encounter) Main Mechanics
The Phantom Legion Queen has a one shot mechanic that requires group coordination and positional awareness. The boss also has various teleport skills and other notable mechanics to be aware of.
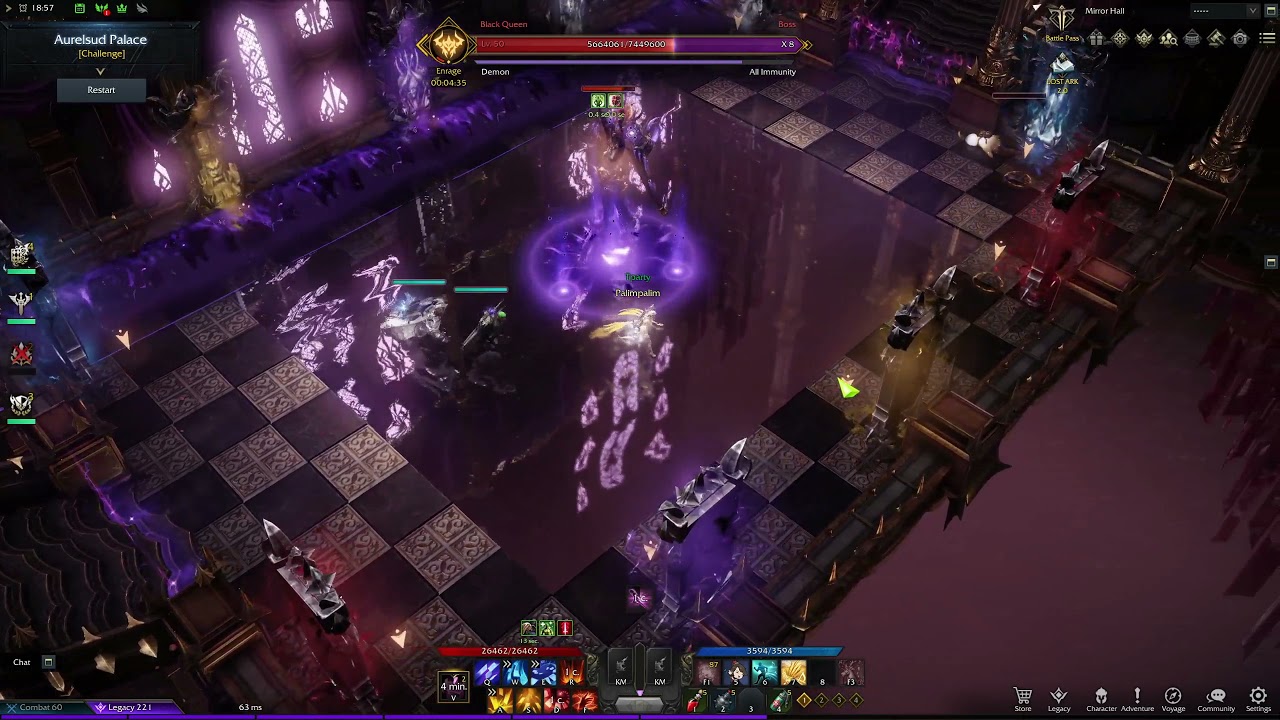
The boss will teleport to the middle of the arena and levitate after reaching roughly the 8th HP bar. You should not worry about dealing damage to boss during this phase, because she will take a significant amount of reduced damage. You should be focused on the mirrors that spawn. A red, blue, yellow, and purple mirror will spawn around the edge of the arena.
Each of the mirror colors will have a set, making 8 mirrors in total. This set of 2 mirrors acts as a portal to one another. For example, if you interact with the yellow mirror you will be teleported to the other yellow mirror.
After the mirrors have spawned, the Phantom Queen will spawn a deadly wave of dark energy that covers the arena horizontally or vertically. The dark energy rolls from one end of the arena to the other. You can not dodge the energy wave, and if you are caught in it you will die.
You will need to interact with a mirror to teleport back to a location that the energy has already passed in order to survive this mechanic.
Do NOT interact with the purple mirror because it will send you to the middle of the arena. Also, do not want to interact with the mirror too early or you will be teleported to the paired mirror while the wave is still there. You should interact with the mirror when the dark wave is close to the Queen in the middle of the arena.
Phantom Legion Queen Additional Wipe Mechanic
Dark Wave Rotation – The boss will stand in the center of the arena and spawn a red telegraph below her. There will only be one safe spot that is denoted by not being red. Players must find the safe spot and immediately move to it. At the same time you will notice orbs floating next to the boss. You will see them move away from her either clockwise or counterclockwise. This will be the direction that the safe zone will rotate.
The boss will send out 4 big shockwaves hitting everything outside of the safe spot. These shockwaves deal a lot of damage. You will need to start in the safe zone and move towards the direction of the next safe spot after each shockwave in order to survive this mechanic. If you move to early or too late your chances increase of getting hit by the shockwave.
Phantom Legion Queen Notable Attacks
Phantom Legion Queen has a few other attacks that players should be aware of as well:
Shockwaves – The Phantom Legion Queen has a variety of different Shockwave attacks. These attacks are all very similar. She will release 2 shockwaves in a cone to her left and to her right. She will also release 4 shockwaves in all 4 cardinal directions. The boss also sends one large shockwave in 3 directions followed up by an explosion. The explosion can be telegraphed by the red on the ground.
Dash – The boss will dash 3 times successively and then follow up with 2 shockwave attacks.
Back Dash – The Queen will dash backwards and then follow up with 2 cone shockwaves to the front and back of her.
Explosion – The boss will spawn several dark circles at random locations. The circles will explode after a short duration and knock up every player that is hit.
Dark Energy Dots – The Queen will summon a sequence of dark energy dots towards a player. If you’re hit you will be knocked up and back. If you’re close to the boss you have a higher chance of getting hit by the attack multiple times.
Marked Orb – The boss will mark a player with visible red energy for five seconds. Once that timer runs out, eight red orbs spawn on that player’s location, dealing no damage to the player marked but dealing damage to anyone these orbs hit while slowly orbiting outward.
Wave – When the bosses reaches low health she will spawn in dark waves. These waves are similar the waves during the mirror phase. The waves will not one shot you and will have gaps that you can navigate through safely.
Brelshaza Phase 1 Main Mechanics
The second boss of the Abyssal Dungeon Hildebrandt Palace is Brelshaza. The boss has no wipe or one shot mechanics during this phase. However, it does a survive mechanic, rolling boulders.
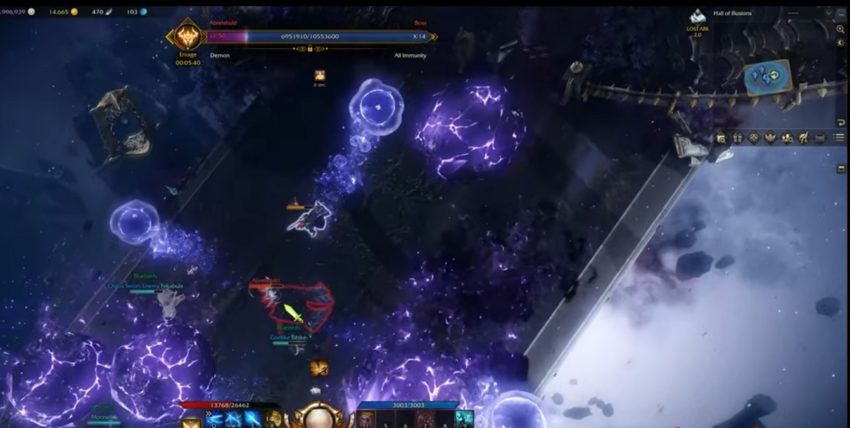
Brelshaza will start the rolling boulder phase at both 14 HP bars remaining and 6 HP bars remaining. The boss will teleport to the center of the arena, and she will tilt the entire arena diagonally with her magic. When this happens boulders will start to spawn at the top of the battleground and roll towards the bottom. The boulders can knock you into the spinning blades at the bottom of the platform. These blades will deal continuous damage to you as long as you stand in them.
If you’re hit by a boulder you will be knocked up and pushed toward the rotation blades. You can avoid the boulders will some careful positioning, and you can use spacebar for recovery or to dodge through the boulders.
To end the boulder phase, players will need to pay attention to their feet until they see a red aura appear underneath one of the group members. When the aura appears the player that has it needs to immediately get as close to the boss as they can. After a few moments a meteor will then come down and hit the area around the player’s aura. That meteorite needs to hit the boss to interrupt this mechanic. If the marked player gets pushed away from the boss by the boulders then the meteor can miss and you will have to wait until you get another red aura for another attempt.
During this phase you will need to focus more on dodging the boulders and less on damaging the boss. You will also see some fast rolling and some slow rolling boulders. Make sure you position yourself in the path of the slower boulder and then move over the side of the faster boulder once it has passed you by.
Brelshaza Phase 1 Notable Attacks
Brelshaza Phase 1 has a few other attacks that players should be aware of as well:
Teleport – Brelshaza will teleport a short distance and deal low damage to players in the vicinity. Players can tell which direction she’s moving in by the residual purple energy on the ground.
Explosion – The boss will spawn multiple dark circles in random locations. These circles will explode after a short delay and knock everyone up on hit.
Orbs X – Brelshaza will send out orbs in each cardinal direction. When the orbs reach the boss another wave of orbs is sent out from the boss towards the edge of the arena. You can avoid the second wave of orbs by moving to the location of the first wave.
Spike Path – The boss will summon a path in front of her. After a short delay spikes will appear on the path and knock up players caught in the path.
Orb Split – Brelshaza sends an orb towards a player that will then split into 4 smaller orbs after traveling a short distance. The orbs deal low damage and stagger any player hit.
Light Show – The boss spawns multiple light orbs in a large cone shape in front of her. The orbs will start to explode shortly after in a counterclockwise pattern. They will knock players up on hit.
Clone – Brelshaza will spawn multiple versions of herself. Each clone sends out a small shockwave in a cone shape in front of them. If hit it will trap the player. The trap can be broken by attacking the trapped player or waiting a duration of 3 seconds.
Orb Wheel – The boss will spawn multiple orbs in a wheel shape above her head. The orbs will then shoot in 2 waves towards a random location. The first wave targets areas further away, and the second wave targets areas close to the boss. The orbs will deal damage to players and knock up on hit.
Brelshaza Phase 2 Main Mechanics
Phase 2 of the Brelshaza fight differs in a few ways, but the notable attacks from phase one stay the same with the addition of a few more. Phase 2 also incorporates a wipe mechanic, and this fight is significantly longer than Phase 1.
At the 34th HP bar and the 26th HP bar Brelshaza will gain a shield. This shield can be destroyed using combat items with stagger like the Whirlwind Grenade. The boss will wipe the entire party if you fail to stagger him. You’ll want to make sure your party saves their stagger abilities until these phases start. Also, it’s good to know that Brelshaza will always teleport to the center of the stage for the Stagger Check at the noted HP bars.
Brelshaza Additional Wipe Mechanic
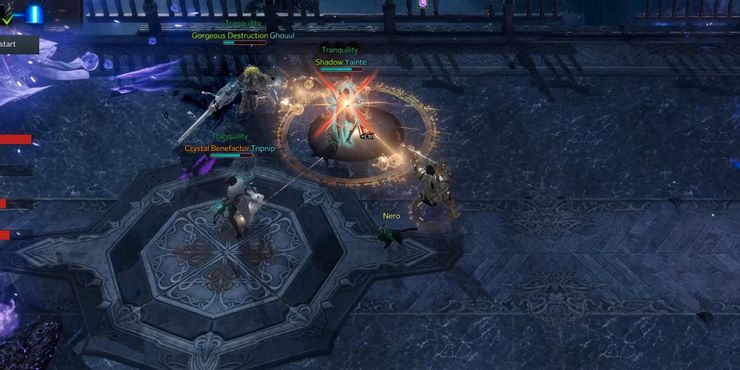
The other main mechanic to be aware of occurs at the 16th and 8th HP bars. A player in the group will be surrounded by a light aura when the boss hits the 16th HP bar. There will be 3 black orbs displayed above that players head. This player should take few steps away from the boss and stand still.
The 3 remaining players will need take a few steps away from the player with the aura and then shine their lights directly at that player. The 3 players will have 10 seconds to point the light towards and touch the player with the 3 black orbs above their head. After 10 seconds a huge meteorite will drop on the player will the 3 black orbs. This will deal a lot of damage in a large area.
If done correctly before the 10 second mark you will see the 3 black orbs lit up and everyone will be able to run away from the impact of the meteor. However, If any player in the group fails to point the light in the right direction then all players will be trapped and pulled towards the player with the orbs above their head. This will most likely lead to a group wipe.
When the boss hits the 8th HP bar he will repeat the same mechanic with one difference. Instead of 3 lights and 1 player with an aura there will be a black circle on the ground behind a player. The player with the orbs will need to stand in the black circle for a few seconds to complete the mechanic. The black circle will move with the player it’s attack to and it will always stay directly behind them. So, it’s better for the black spotlight player to stand still and for the player with the 3 orbs over their head to move into the circle. When you perform this correctly you will then see the red telegraph just like the first time which will give players enough time to escape.
Brelshaza Phase 2 Notable Attacks
Brelshaza Phase 2 has a few other attacks that players should be aware of as well:
Collapse – The battleground will begin to collapse after the main mechanic at the 16th HP bar mentioned above. This will reduce the space of the arena significantly. Lines of purple fire start to spawn in intervals at this time, dealing low damage on contact.
Upgraded Spike Path – An upgraded version of Spike Path from Phase 1 that Brelshaza will use in her second phase. This version can spawn multiple paths and multiple shapes for the paths such as circles and cones, all of which explode with spikes after a short interval.
Ring Cage – The boss will summon a ring that traps the players within. If you touch the edge of the ring you will receive continuous damage while in it. The ring will shrink over time towards the boss until it dissapears.
Bubbles – Brelshaza wikll summons a bubble on each player. The bubble will become stationary after 5 seconds, and will continuously explode after locking itself onto the arena. Players should move to the outer edges of the arena, wait until the bubble locks down, then leave it there to go back to hit Brelshaza while it explodes away from the fight.
Portals – The boss will summon 4 portals pointing at each of the party members. After a few moments te portals will summon large boulders from them that will fly towards their target player’s last position. The boulder will deal high amounts of damage to anyone hit.